
Understanding Concrete Cracks: Not All Cracks Are Equal
Concrete cracks are inevitable — they appear due to shrinkage, thermal cycling, overloading, settlement, and corrosion of embedded reinforcement. But not all cracks require the same repair approach, and choosing the wrong injection resin can mean the difference between a permanent repair and a costly failure.
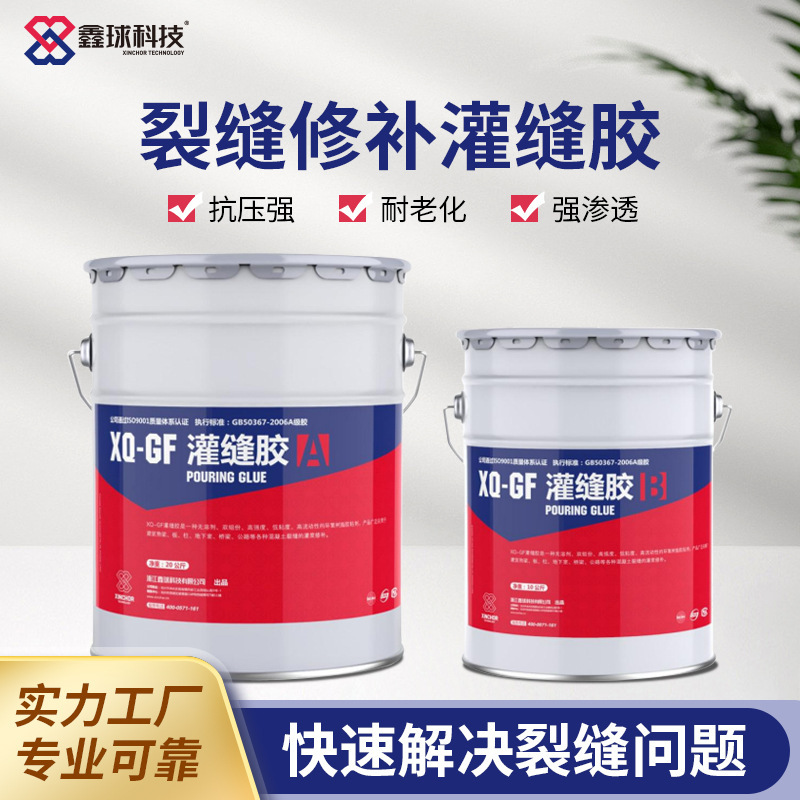
As a manufacturer specializing in crack repair systems for over 20 years, we have formulated our injection resins to address two fundamentally different repair scenarios — and understanding the difference is the key to successful crack repair.
The Two Categories: When Viscosity Determines Success
Low-Viscosity Injection Resin (100-300 mPa·s)
Our Low-Viscosity Crack Injection Resin XQ-LF-L has a viscosity of 100 to 300 mPa·s at 25 degrees Celsius — roughly the consistency of cooking oil. This ultra-thin formulation is designed for one specific purpose: penetrating fine cracks that thicker materials simply cannot reach.
Key specifications:
- Viscosity: 100-300 mPa·s at 25 degrees Celsius
- Tensile strength (cured): 40 MPa or above
- Compressive strength: 60 MPa or above
- Bond strength: 2.5 MPa or above (concrete failure mode)
- Crack width range: 0.1 to 0.5 mm
- Injection method: Gravity feed or low-pressure (below 0.2 MPa)
Medium-Viscosity Injection Resin (1,000-3,000 mPa·s)
Our Medium-Viscosity Crack Injection Resin XQ-LF-M has a viscosity of 1,000 to 3,000 mPa·s — similar to honey. This thicker formulation is designed for wider cracks where low-viscosity resin would simply drain through before curing.
Key specifications:
- Viscosity: 1,000-3,000 mPa·s at 25 degrees Celsius
- Tensile strength (cured): 35 MPa or above
- Compressive strength: 65 MPa or above
- Crack width range: 0.5 to 5 mm
- Injection method: Pressure injection (0.2 to 1.0 MPa)
How to Determine Which Resin You Need
Step 1: Assess the Crack Width
This is the primary decision criterion. Measure the crack width at the surface using a crack width gauge (optical comparator):
| Crack Width | Classification | Recommended Resin |
|---|---|---|
| 0.05-0.2 mm | Hairline crack | Low viscosity (XQ-LF-L) — gravity feed |
| 0.2-0.5 mm | Fine crack | Low viscosity (XQ-LF-L) — low pressure |
| 0.5-1.0 mm | Medium crack | Medium viscosity (XQ-LF-M) |
| 1.0-3.0 mm | Wide crack | Medium viscosity (XQ-LF-M) |
| 3.0-5.0 mm | Very wide crack | Medium viscosity (XQ-LF-M) — may need multiple passes |
| Above 5 mm | Joint/void | Grouting material (not injection resin) |
Step 2: Determine If the Crack Is Active or Dormant
- Dormant cracks (not changing in width) can be structurally repaired with rigid epoxy injection. Both our low and medium viscosity resins are rigid epoxies designed for permanent structural repair.
- Active cracks (still moving due to thermal or load cycling) should not be repaired with rigid epoxy — the repair will simply crack again. Active cracks require flexible polyurethane injection or routing and sealing with flexible sealant.
Step 3: Assess Moisture Conditions
Standard epoxy injection resins require dry crack surfaces for proper adhesion. If the crack is wet or actively leaking water:
- Minor dampness: Allow the crack to dry, or use forced air drying
- Active water flow: Use polyurethane foam injection first to stop the water, then follow with epoxy injection for structural repair
- Submerged structures: Contact our engineering team for specialized underwater-cure formulations
The Injection Process: A Step-by-Step Guide

Whether using low or medium viscosity resin, the injection process follows the same fundamental steps. The critical differences are in the injection pressure and port spacing.
Surface Preparation
Injection
For low-viscosity resin (hairline cracks):- Start from the lowest port (or one end for horizontal cracks)
- Inject by gravity feed for horizontal surfaces: simply pour resin into the port and allow capillary action to draw it into the crack
- For vertical cracks, use low-pressure injection (below 0.2 MPa) starting from the bottom port
- When resin flows from the next adjacent port, cap the current port and move the injection gun to the flowing port
- Continue until all ports are filled
- Use pressure injection equipment rated for 0.2 to 1.0 MPa
- Start from the lowest port
- Inject slowly — maintain pressure until resin appears at adjacent ports
- Hold pressure for 1 to 2 minutes after flow stops to ensure complete fill
- Monitor pressure: a sudden pressure drop indicates the crack is extending into previously unreached voids (continue injection); sustained high pressure indicates the crack is full
Cure and Verification
- Low-viscosity resin: Full cure in 48 hours at 25 degrees Celsius
- Medium-viscosity resin: Full cure in 24 hours at 25 degrees Celsius
- After cure, remove the surface seal paste and injection ports
- Verify repair by core drilling through the repaired crack (for critical structures): the core should show complete resin penetration with no voids
Common Mistakes We See in the Field
Having supported crack repair projects across 30+ countries, here are the errors that most frequently compromise repair quality:
1. Using Medium Viscosity in Hairline Cracks
This is the most common mistake. A resin with 2,000 mPa·s viscosity physically cannot penetrate a 0.2mm crack under reasonable injection pressure. The resin flows along the surface seal, pressurizes the port area, and the operator assumes the crack is filled — but the interior of the crack remains empty.
Rule of thumb: If the crack is narrower than 0.5mm at any point along its path, use low-viscosity resin.2. Inadequate Hole Cleaning
Concrete drilling dust left in the injection ports acts as a filter, thickening the resin and blocking penetration. Always blow out ports with compressed air (minimum 0.5 MPa) after drilling.
3. Injecting Too Fast
High injection rates create back-pressure that can extend the crack or cause the surface seal to blow off. For structural crack repair, we recommend injection rates of 0.5 to 1.0 liters per minute maximum. Patience delivers better results.
4. Ignoring Temperature Effects
Resin viscosity is highly temperature-dependent. Our low-viscosity resin at 25 degrees Celsius (200 mPa·s) becomes approximately 400 mPa·s at 15 degrees Celsius and 800 mPa·s at 10 degrees Celsius. In cold conditions, either warm the resin (water bath at 30 to 35 degrees Celsius) or switch to the next lower viscosity grade.
Application Examples by Structure Type
Bridges
- Deck cracks (typically 0.1 to 0.3mm from shrinkage): Low-viscosity, gravity feed
- Girder cracks (0.3 to 1.0mm from overloading): Low to medium viscosity, pressure injection
- Abutment cracks (1.0 to 3.0mm from settlement): Medium viscosity, pressure injection
Buildings
- Slab cracks (0.1 to 0.5mm from shrinkage/settlement): Low viscosity, gravity feed
- Beam cracks (0.2 to 1.5mm from overloading): Low to medium viscosity depending on width
- Column cracks (critical — may indicate overloading): Medium viscosity, structural repair with CFRP confinement follow-up
Industrial Structures
- Tank wall cracks: Medium viscosity (must be watertight after repair)
- Tunnel lining cracks: Medium viscosity, pressure injection from inside
- Dam face cracks: Low viscosity for surface crazing; consult specialist for deep structural cracks
Frequently Asked Questions
Can crack injection resin restore the structural capacity of cracked concrete?
Yes, when properly applied. Rigid epoxy injection resin restores monolithic integrity to the cracked section. Our resins achieve bond strength that exceeds the tensile strength of the parent concrete (2.5 MPa or above with concrete failure mode), meaning the repaired crack is stronger than the surrounding uncracked concrete. However, the root cause of cracking must also be addressed — if the overload condition persists, new cracks will form adjacent to the repair.
How do you know if the crack injection was successful?
Verification methods include: (1) monitoring resin flow between adjacent ports during injection (confirms crack connectivity), (2) core drilling through the repaired crack to visually inspect resin penetration depth, (3) pull-off testing of cores to verify bond strength, and (4) ultrasonic pulse velocity testing to detect remaining voids. For critical structures, we recommend core sampling of at least 10% of repaired cracks.
What is the shelf life of crack injection resin?
Our injection resins have a shelf life of 12 months when stored in sealed containers at 5 to 35 degrees Celsius. After opening, use the product within 3 months and keep containers tightly sealed. Do not store resin in direct sunlight or near heat sources, as elevated temperatures can accelerate aging.
Can epoxy injection resin be used for underwater crack repair?
Standard epoxy resins require dry surfaces for proper adhesion. For underwater or actively wet cracks, we recommend a two-stage approach: first, inject polyurethane foam to stop water flow, then follow with epoxy injection for structural bonding once the crack is dry. We also offer specialized moisture-tolerant epoxy formulations for damp (but not submerged) applications — contact our technical team for specific product recommendations.
How much injection resin is needed per meter of crack?
The volume depends on crack width, depth, and the member thickness. A rough estimate: for a through-crack in a 200mm thick member, the resin volume per meter is approximately: crack width (mm) multiplied by 200mm multiplied by 1,000mm divided by 1,000,000, which gives the volume in liters. For a 0.3mm wide crack in a 200mm slab, this equals approximately 0.06 liters per meter. We recommend ordering 20 to 30% more than the calculated volume to account for irregularities and waste.
Complete Your Crack Repair System
Effective crack repair requires more than just injection resin. Our complete crack repair system includes the injection resin (low or medium viscosity), surface seal paste (XQ-LF-SS), injection ports, and detailed application guides.
View our complete crack repair product range or contact our engineering team for project-specific recommendations and competitive quotes.